UI Component
This documentation is part of the Frontend Development category, designed to guide you through frontend customization within Simplicité.
This guide covers creating custom widgets using External Objects for interactive, embedded components.
When to Use Custom Widgets
Create custom widgets when:
- Existing components don't meet your visualization needs
- You need specific feature combinations
- Default UI doesn't support your design requirements
Most technical operations can be accomplished with Simplicité's core features. Custom widgets primarily address unique visualization needs.
Example: Welcome Card
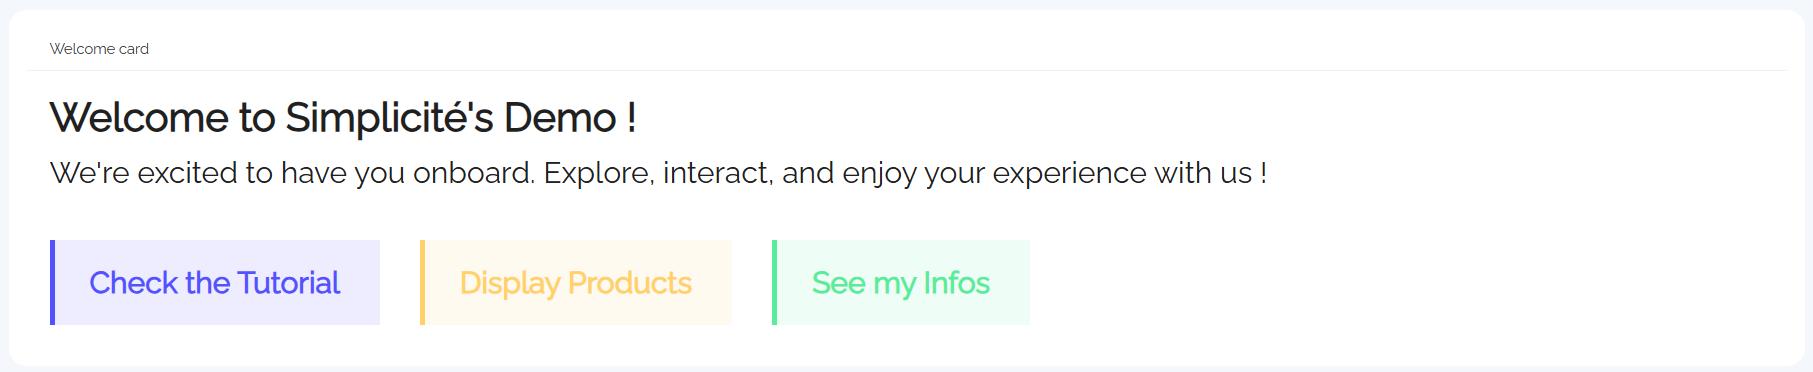
A customizable entry point featuring:
- Personalized greetings
- Brand-aligned design
- Interactive shortcuts
- Dynamic content
Creating a Widget
1. Create External Object
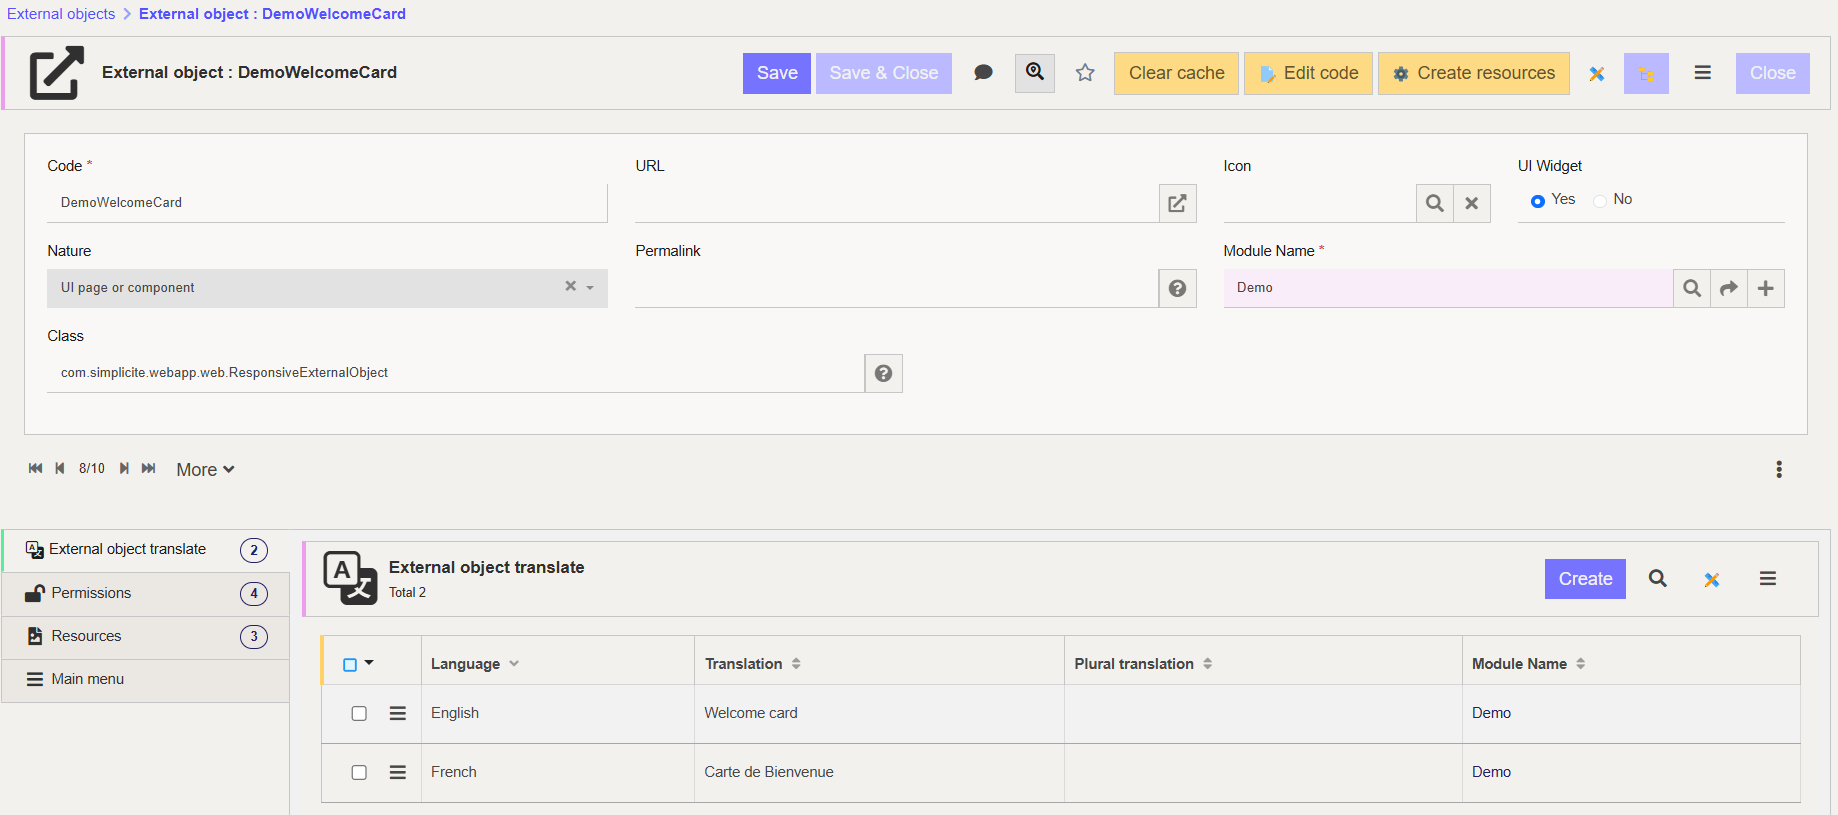
- Create new External Object
- Set Nature: UI page or component
- Set Class:
com.simplicite.webapp.web.widgets.ResponsiveExternalObject - Enable UI widget: Yes
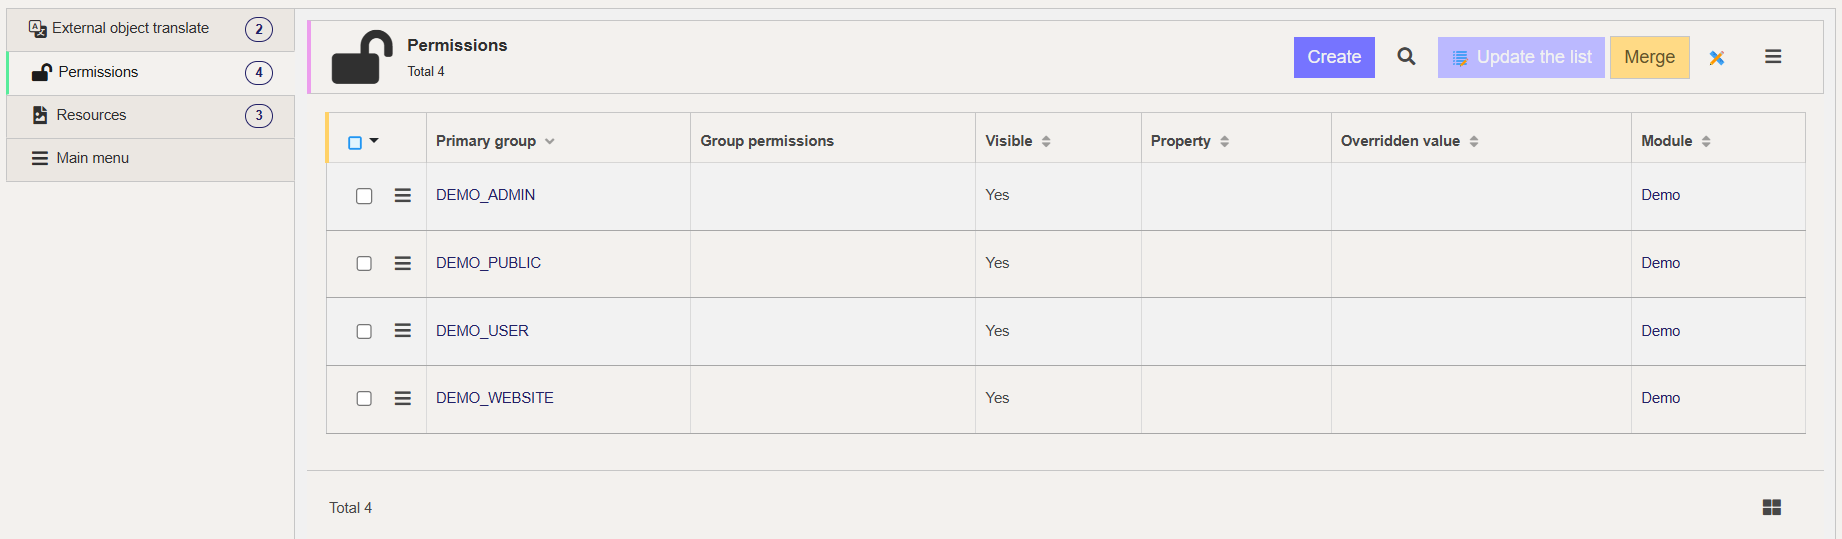
- Grant permissions matching your module/view
2. Create Resources
Click Create Resources to generate three files:
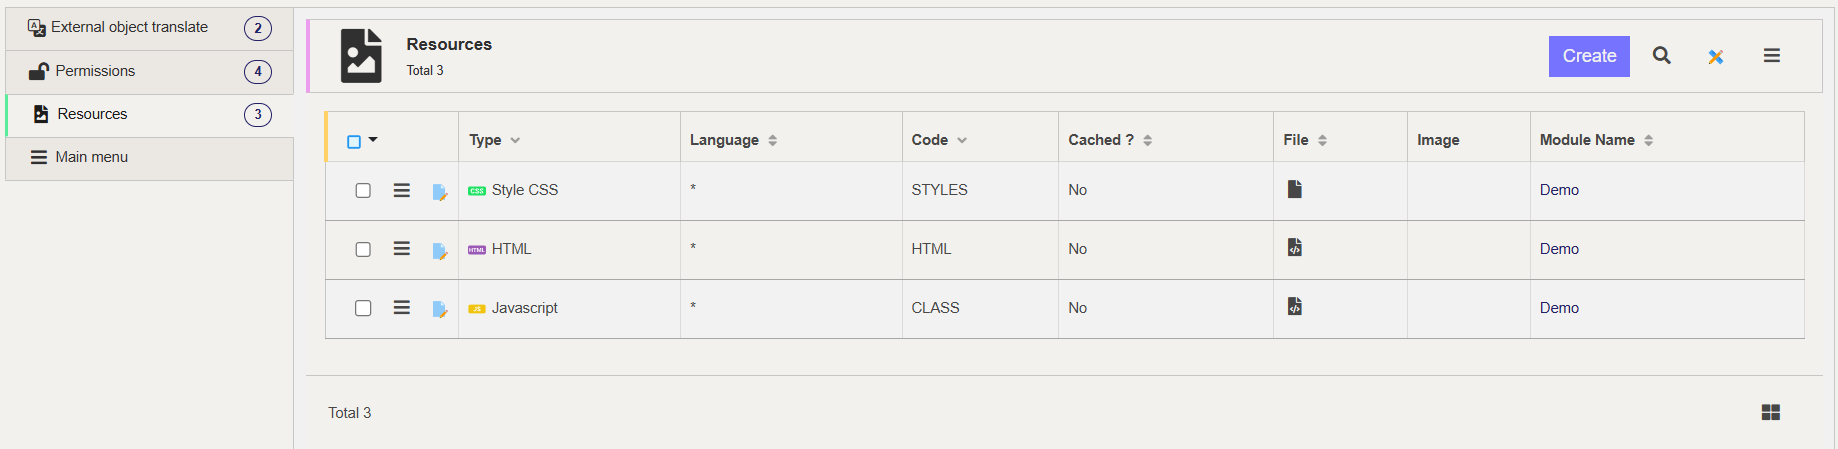
- HTML: Content structure (
<div id="ext-obj"></div>) - STYLES: CSS stylesheet
- CLASS: JavaScript functionality
3. Choose Implementation Approach
Dynamic Instantiation (Recommended):
- HTML contains only anchor elements
- JavaScript creates content dynamically
- Lighter DOM, faster loading
<div id="demowelcomecard">
  <div id="demowelcomecard-header"></div>
  <div id="demowelcomecard-actions"></div>
  <div id="demowelcomecard-productlist" hidden></div>
</div>
Simplicite.UI.ExternalObjects.DemoWelcomeCard = class extends Simplicite.UI.ExternalObject {
  async render(params, data = {}) {
    $('#demowelcomecard').append('Hello world!');
  }
}
Static Instantiation:
- More complete HTML structure
- Less JavaScript manipulation
- Use when minimal dynamic data needed
Integration
- Navigate to User Interface > Views > Show All
- Select a Home Page view
- Click Edit View
- Add new Sub-View:
- Type: External Page
- Source: External Object
- External Object: Your widget name
- Save and preview
Ensure proper permissions. If you see "External object not granted", clear cache and verify rights match your application.
Implementation Example
Accessing Simplicité
async render(params, data = {}) {
  let app = $ui.getApp();
  let product = app.getBusinessObject("DemoProduct");
  let user = app.getBusinessObject("User");
  let login = $ui.getGrant().login;

  // Build your UI
}
Fetching Business Objects
prd.search({} /* or null */,{ inlineDocuments: ['demoPrdPicture'] }).then(rows => {
  for (const row of rows) {
    const imageSrc = `data:${row.demoPrdPicture.mime};base64,${row.demoPrdPicture.content}`;

    // Create and append elements
    let productDiv = $('<div>').addClass("product-card");
    // ... add content ...
    $("#product-list").append(productDiv);
  }
});
Accessing Fields
Field naming follows patterns:
- Object fields:
demoPrdName,demoPrdPrice - Linked fields:
demoPrdSupId__demoSupName
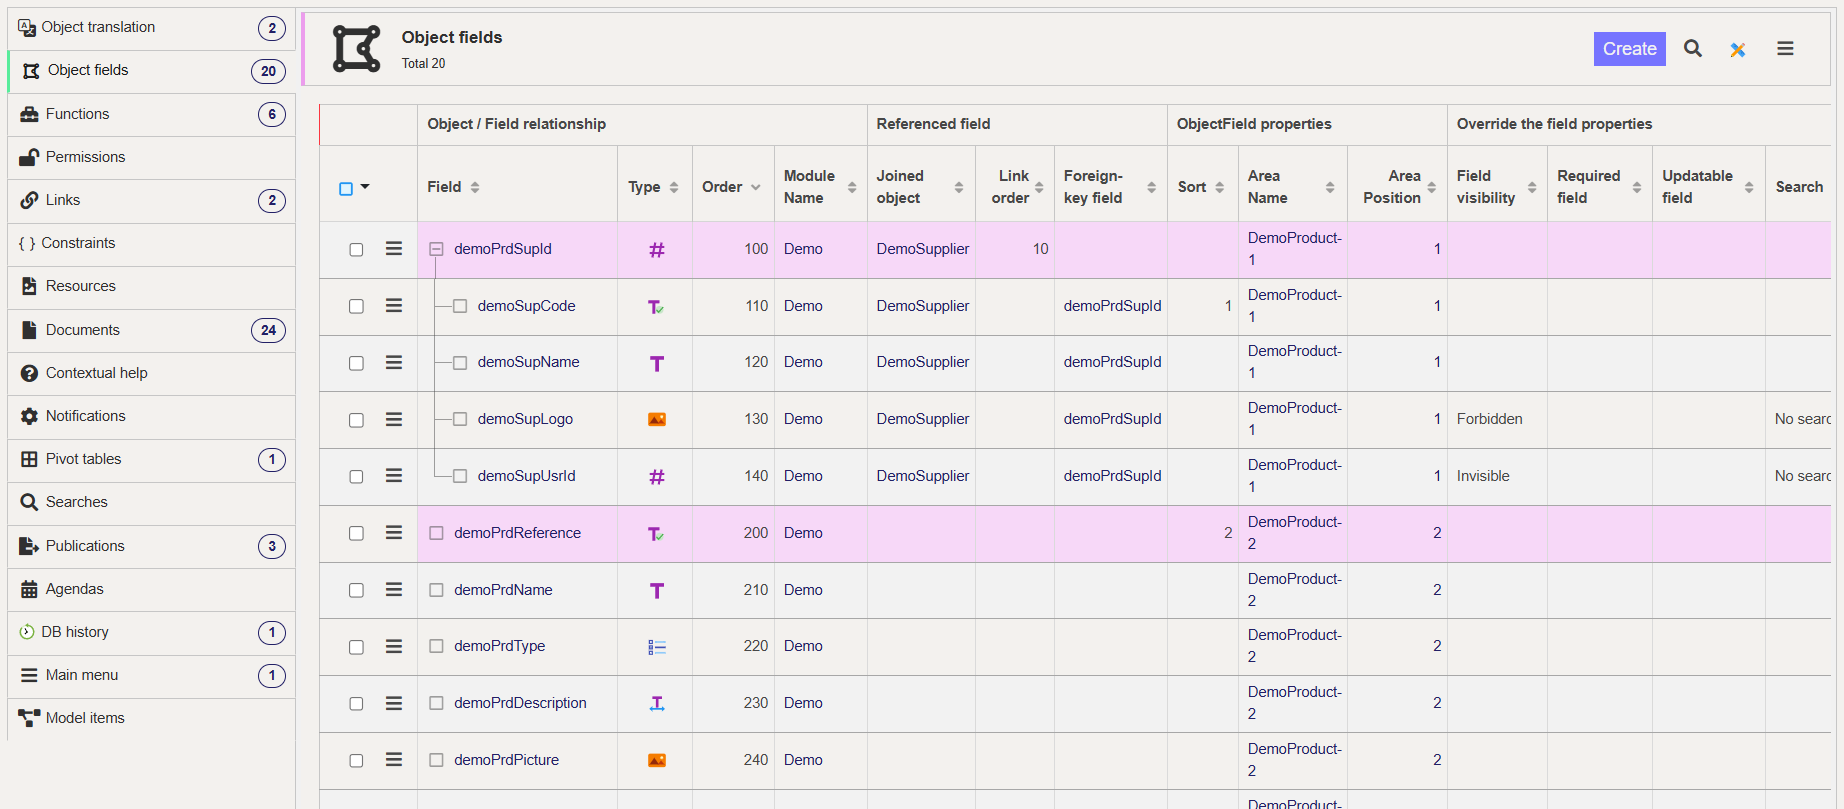
Check Business Objects > Your Object > Object Fields for all available fields.
Displaying Forms
$ui.displayForm(null, "DemoProduct", prd.row_id, {
  nav: "add",
  target: "work"
});
Getting current user info
const grant = $ui.getGrant();

$app.getBusinessObject("User").search({ usr_login: grant.login }).then(rows => {
  $ui.displayForm(null, "User", rows[0].row_id, { nav: "add", target: "work" });
});
Complete Example Structure
Full HTML
<div id="demowelcomecard">
  <div id="demowelcomecard-header"></div>
  <div id="demowelcomecard-actions"></div>
  <div id="demowelcomecard-productlist"></div>
</div>
Full JavaScript
Simplicite.UI.ExternalObjects.DemoWelcomeCard = class extends Simplicite.UI.ExternalObject {
  async render(params, data = {}) {
    // Build header
    $('#demowelcomecard-header')
      .append($('<h1>').text('Welcome to Simplicité!'))
      .append($('<h3>').text('Explore and enjoy your experience!'));

    // Build actions
    $('#demowelcomecard-actions')
      .append($('<button/>').text('Tutorial')
        .on('click', () => window.open('https://docs.simplicite.io/', '_blank')))
      .append($('<button/>').text('Products')
        .on('click', () => $('#demowelcomecard-productlist').toggle()));

    // Load products
    $app.getBusinessObject('DemoProduct').search({} /* or null */, { inlineDocuments: true }).then(rows => {
      for (const row of rows; i++) {
        let card = $('<div>').addClass('product-card');
        // Build card content with row...
        $('#demowelcomecard-productlist').append(card);
      }
      $('#demowelcomecard-productlist').hide();
    });
  }
};
Legacy Approach (V5)
For older versions, use namespace pattern:
var CustomWelcomeCard = CustomWelcomeCard || (function($) {
  let app = $ui.getApp();

  function render(url) {
    // Implementation
  }

  return { render: render };
})(jQuery);