Hybrid Mobile Application
This section explains how to build one hybrid application based on a Simplicité project:
- Available on Play store and Apple store
- Embed the responsive website and support HTML5/CSS3
- Allows device and desktop to receive notifications
- and server back-end to post messages (to users, or groups or all users)
Cordova
Prerequisites
- Java VM version 1.8+
- Node.js
- Android Studio and SDK
Environment variables
JAVA_HOME: JVM root (exC:\dev\java\jdk1.8)ANDROID_HOMEandANDROID_SDK_ROOT: root of your android SDK (exC:\dev\android\sdk)GRADLE_USER_HOME: change the gradle home repository without special characters in path (exC:\dev\.gradle)- Add to
PATH- the studio gradle (ex
C:\dev\android\studio\gradle\gradle-4.6\bin) - the JVM bin directory (ex
C:\dev\java\jdk1.8\bin)
- the studio gradle (ex
Install cordova CLI
npm install -g cordova`
cordova --version
Create your application
cordova create myproject com.simplicite.mobile.myproject MyProjectName
cd myproject
Add platforms and plugins with CLI
cordova platform add android
cordova plugin add cordova-plugin-whitelist
cordova plugin add cordova-plugin-inappbrowser
cordova plugin add cordova-plugin-network-information
cordova plugin add cordova-plugin-dialogs
...
Androïd test
Create/launch one emulator in Android Studio then:
cordova build android
cordova emulate android
Starts on your device in debug mode:
cordova run android
In Android Studio:
- You will have to validate the license terms before using the tools
- Create one ADV (virtual device) before using
cordova emulate android - After cordova generation, open the project
/platforms/androidto build/test the app
Integrate the hybrid app
Open your project directory and customize your application:
www/img/logo.pngis used on the default splash screen- all
res/icon/androidandres/icon/ioswith your logos - change the default
www/js/index.js- Init firebase plugin to register / receive notifications on each device
- Launch the webapp into a inAppBrowser : the simplest way to wrap the site into a browser (but with some limitations)
Script www/js/index.js
(function() {

	var url = 'https://myproject.myserver.simplicite.io';
	var fireBaseToken, win, winReady;

	// Call the UI firebase handler
	function exec(d) {
		d = typeof(d)=="string" ? d : JSON.stringify(d);
		winReady && win.executeScript({ code: 'window.$ui.firebase(' + d + ');' });
	}

	// Notify server with firebase token after login
	function syncFirebaseToken(token) {
		token = token || fireBaseToken;
		if (token) {
			fireBaseToken = token;
			exec({ token:token });
		}
	}

	function error(e) { console.error(e); }

	// Firebase events
	function firebase() {
		// Notification : cordova-plugin-firebase
		var pfb = window.FirebasePlugin;
		if (pfb) {
			console.log("[FirebasePlugin] init");
			//pfb.grantPermission();
			pfb.getToken(syncFirebaseToken, error);
			pfb.onTokenRefresh(syncFirebaseToken, error);
			pfb.onNotificationOpen(function(m) {
				console.log("[FirebasePlugin] onNotificationOpen " + JSON.stringify(m));
				exec(m);
			}, error);
		}
	}

	// Load Simplicite URL
	function open() {
		// In-app browser
		win = cordova.InAppBrowser.open(url + "?inapp=true", '_blank', 'location=no');
		win.addEventListener('loadstop', function() {
			winReady = true;
			syncFirebaseToken();
		});
		//win.addEventListener('exit', function() {});
	}

	// Cordova loaded
	function init() {
		var parentElement = document.getElementById('deviceready');
		var listeningElement = parentElement.querySelector('.listening');
		var receivedElement = parentElement.querySelector('.received');
		listeningElement.setAttribute('style', 'display:none;');
		receivedElement.setAttribute('style', 'display:block;');
	}
	function ready() {
		init();
		firebase();
		open();
	}
	document.addEventListener("deviceready", ready, false);
})();
Application icons
- Import your icons into
res/iconfolders - Change
config.xmlto bind all sizes as follow:
    <platform name="android">
			...
        <icon density="ldpi" src="res/icon/android/icon-36-ldpi.png" />
        <icon density="mdpi" src="res/icon/android/icon-48-mdpi.png" />
        <icon density="hdpi" src="res/icon/android/icon-72-hdpi.png" />
        <icon density="xhdpi" src="res/icon/android/icon-96-xhdpi.png" />
    </platform>
    <platform name="ios">
    		...
        <icon height="114" src="res/icon/ios/icon-57-2x.png" width="114" />
        <icon height="57" src="res/icon/ios/icon-57.png" width="57" />
        <icon height="144" src="res/icon/ios/icon-72-2x.png" width="144" />
        <icon height="72" src="res/icon/ios/icon-72.png" width="72" />
    </platform>
Splash screen
- Install the plugin splash screen:
cordova plugin add cordova-plugin-splashscreen
- Put all your image in project's resources, example
/res/screen/android/screen-hdpi-landscape.png - Add to
config.xmlthe size mapping
<platform name="android">
	...
	<splash src="res/screen/android/screen-hdpi-landscape.png" density="land-hdpi"/>
	...
</platform>
Firebase configuration
Firebase is used to manage Cloud messaging and notifications.
The platform will use several system parameters:
FIREBASE: to activate the service on platform and UIFIREBASE_PRIVATE_KEY: private setup to init the service on server sideFIREBASE_TOKENS: used to store each user devices (desktop, mobile, tablet...)FIREBASE_CONFIG: public configuration on Web client-sideFIREBASE_LIBS: public firebase libs to load on client-sideFIREBASE_VAPID_KEY: public key for firebase authentication
Register your application on Firebase
- Create your Firebase account
- Access to the console to add your project, ex
SimpliciteMobileMyProject
Add to project the application for Androïd
- with your cordova package name (ex
com.simplicite.mobile.myproject) - generate and download the
google-services.jsonin your local project root, it is required to compile the firebase plugin - and copy
google-services.jsonintoplatforms/android/appin case of build error
Add the firebase plugin
cordova plugin add cordova-plugin-firebase
cordova run android
In case of build error on android platform (invalid google play version),
uninstall this plugin and use this compatible fork: cordova-plugin-firebasex
Send a message with the console
- Use the google console to access the
Cloud Messagingsection of your project - Compose a message
- Verify your device
Back-end integration
Set system parameter FIREBASE = yes to activate the service.
On UI $ui.firebase wrap all Firebase message:
- to register user and device on server-side (see
FIREBASE_TOKENSon each user) - to send a notification to users (unique, groups or all)
on Server-side service, see GoogleFireBaseTools:
- you must generate first your Service Account Key on console
- then place your strongly private credentials in the parameter
FIREBASE_PRIVATE_KEYon server-side
{
  "type": "service_account",
  "project_id": "simplicite-app",
  "private_key_id": "e82...",
  "private_key": "-----BEGIN PRIVATE KEY----- xxxx -----END PRIVATE KEY-----\n",
  "client_email": "firebase-adminsdk-f5n4s@simplicite-app.iam.gserviceaccount.com",
  "client_id": "1234...",
  "auth_uri": "https://accounts.google.com/o/oauth2/auth",
  "token_uri": "https://oauth2.googleapis.com/token",
  "auth_provider_x509_cert_url": "https://www.googleapis.com/oauth2/v1/certs",
  "client_x509_cert_url": "https://www.googleapis.com/robot/v1/metadata/x509/firebase-adminsdk-f5n4s%40simplicite-app.iam.gserviceaccount.com"
}
Front-end integration (desktop)
To receive message on webapp, the browser needs 2 parameters:
-
Add a public system param
FIREBASE_LIBS["https://www.gstatic.com/firebasejs/7.20.0/firebase-app.js","https://www.gstatic.com/firebasejs/7.20.0/firebase-messaging.js"] -
Add a public system param
FIREBASE_CONFIGto init firebase on client-side:{"apiKey": "AIzaSyB...","authDomain": "simplicite-app.firebaseapp.com","databaseURL": "https://simplicite-app.firebaseio.com","projectId": "simplicite-app","storageBucket": "simplicite-app.appspot.com","messagingSenderId": "123...","appId": "1:1234...","measurementId": "G-XXX..."} -
Add a public system param
FIREBASE_VAPID_KEYto authent clientGet the public VAPID key from key-pair on Firebase console / Configuration web:
BIDDmZgk5QSFd7Bf1sf2yfUrfi...
note firebase is not loaded in webapp:
- If
FIREBASE_CONFIGis not set on platform - If webapp is embedded into mobile
inAppBrowser: cordova includes the firebase plugin and events outside the site
Unit test
JSON message:
"data":{
	"title": "hello",
	"body": "world",
	"priority": "high | normal | low",
	"icon": "notification_icon"
}
To send one notification to a device:
curl --header "Authorization: key=<cloud messaging server key>" \
  --header "Content-type: application/json" \
  -d '{"to":"<device token>", "data":{"title":"hello","body":"world","icon":"notification_icon"}}' \
  https://fcm.googleapis.com/fcm/send
- Get the server key on your Firebase console / Project Setup / Cloud Messaging / Server key Token (use the long one, the short key is deprecated)
- Get the device token stored in user's FIREBASE_TOKENS (or logged in browser console)
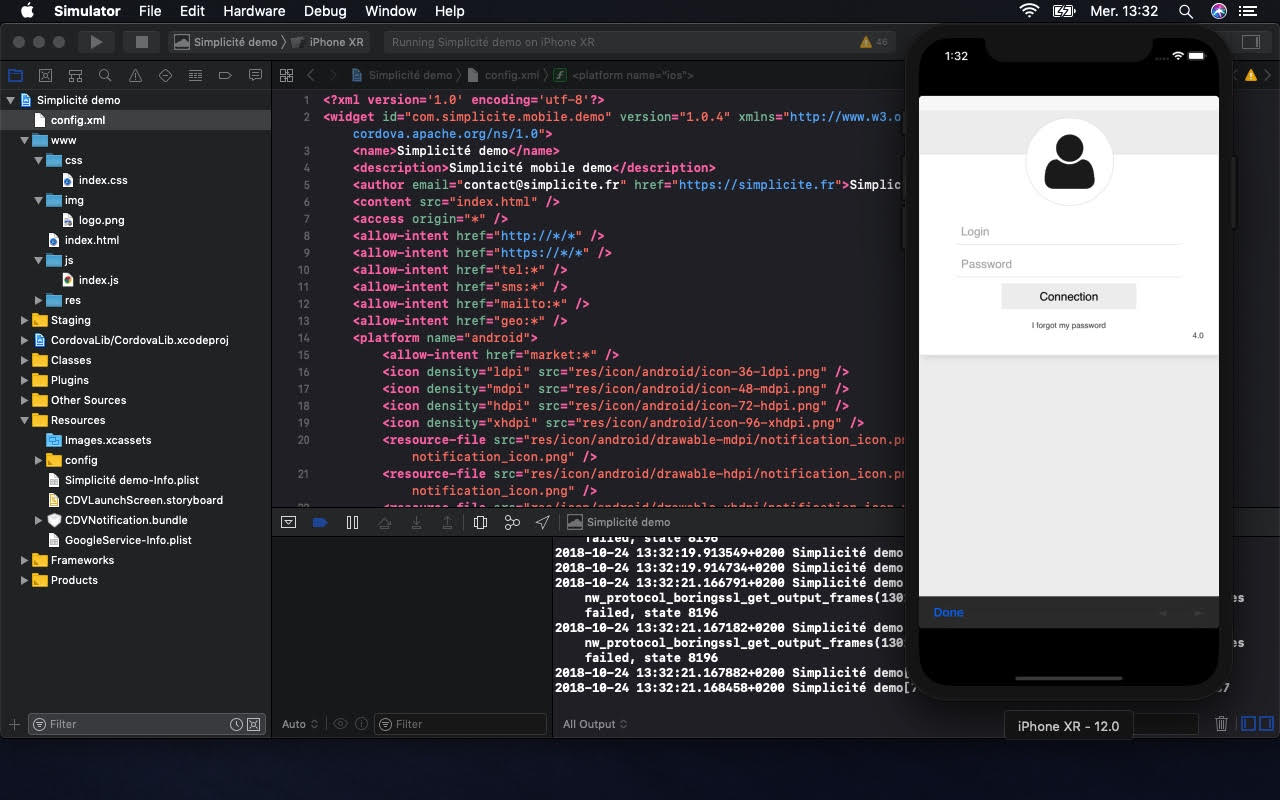
Notification icons
- iOS does not support customization and use the default app icon
- Android supports icon resources referenced in notification:
- Generate your mono-color/transparent icons:
- Import them into your project
res/icon/android - Add resources in
config.xmlto copy them in drawable asnotification_icon
    <platform name="android">
    ...
        <resource-file src="res/icon/android/drawable-mdpi/notification_icon.png" target="app/src/main/res/drawable-mdpi/notification_icon.png" />
        <resource-file src="res/icon/android/drawable-hdpi/notification_icon.png" target="app/src/main/res/drawable-hdpi/notification_icon.png" />
        <resource-file src="res/icon/android/drawable-xhdpi/notification_icon.png" target="app/src/main/res/drawable-xhdpi/notification_icon.png" />
        <resource-file src="res/icon/android/drawable-xxhdpi/notification_icon.png" target="app/src/main/res/drawable-xxhdpi/notification_icon.png" />
        <resource-file src="res/icon/android/drawable-xxxhdpi/notification_icon.png" target="app/src/main/res/drawable-xxxhdpi/notification_icon.png" />
    </platform>
see:
Deploy on Google Play Store
Assuming your application is working on debug mode on your mobile device, you can push your signed APK on the play store.
Build a release APK
cordova build --release android
The unsigned APK is generated in your android directory myproject/platforms/android/app/build/outputs/apk/release/app-release-unsigned.apk
Sign your APK file
Create a keystore with your company information:
- with Android studio
- with CLI keytool
cordova build android --release -- --keystore="path/to/keystore" --storePassword=xxxx --alias=key0 --password=xxxx
The signed APK is generated in your android directory myproject/platforms/android/app/build/outputs/apk/release/app-release.apk
Upload the APK with the play-store console
You will have to change the version each time you deliver a new APK:
- in root files
config.xmlandpackage.json - rebuild the release
Process is quite long at the very first time:
- Sign all confidentiality, brief, class PEGI 3, tax free...
- Create the application, upload and validate your APK
- Create a testing group
- Publish in test mode: not visible on public store but here:
https://play.google.com/apps/testing/com.simplicite.mobile.myproject - Promote to production when ready to use:
https://play.google.com/store/apps/details?id=com.simplicite.mobile.myproject
Congrats if you are still alive at this stage!
Deploy on Apple Store
Install the iOS platform
You will have to do the same with iOS platform on your Mac. It is not possible to build the app on PC/Windows. iOS app requires Xcode to compile swift code and cordova plugins.
- Create your apple ID
- Download Xcode 10
- configure
xcode-selectto target the Xcode installation - install CLI to compile and deploy
- then rebuild your cordova app with the
iOSplatform
sudo xcode-select --install
sudo xcode-select -s /Applications/Xcode.app/Contents/Developer
npm i -g xcode
npm i -g ios-deploy
cordova platform add ios
cordova build ios
If the build is successful, launch all emulators (iPhone, iPad) to test the app with Xcode:
- cordova can not launch the app directly, open the project in
/platforms/ios - on top select your emulator and starts the app
- at bottom open the log console filtered on your app name
iOS icons
The application needs many icons to target all iOS versions.
- Open the project
platforms/ios/myproject.xcworkspacein Xcode - Select the icon overview
/Resources/Images.xcassets

- Create all icons in
res/icon/iosdirectory - Add icons in your
config.xml:
    <platform name="ios">
        <allow-intent href="itms:*" />
        <allow-intent href="itms-apps:*" />
        <icon height="180" src="res/icon/ios/icon-60-3x.png" width="180" />
        <icon height="120" src="res/icon/ios/icon-60-2x.png" width="120" />
        <icon height="60" src="res/icon/ios/icon-60.png" width="60" />
        <icon height="152" src="res/icon/ios/icon-76-2x.png" width="152" />
        <icon height="76" src="res/icon/ios/icon-76.png" width="76" />
        <icon height="80" src="res/icon/ios/icon-40-2x.png" width="80" />
        <icon height="40" src="res/icon/ios/icon-40.png" width="40" />
        <icon height="114" src="res/icon/ios/icon-57-2x.png" width="114" />
        <icon height="57" src="res/icon/ios/icon-57.png" width="57" />
        <icon height="144" src="res/icon/ios/icon-72-2x.png" width="144" />
        <icon height="72" src="res/icon/ios/icon-72.png" width="72" />
        <icon height="87" src="res/icon/ios/icon-small-3x.png" width="87" />
        <icon height="58" src="res/icon/ios/icon-small-2x.png" width="58" />
        <icon height="29" src="res/icon/ios/icon-small.png" width="29" />
        <icon height="100" src="res/icon/ios/icon-50-2x.png" width="100" />
        <icon height="50" src="res/icon/ios/icon-50.png" width="50" />
        <icon height="167" src="res/icon/ios/icon-167.png" width="167" />
    </platform>
Setup firebase for iOS
-
- Description =
Simplicite My Project - Explicit App ID =
com.simplicite.mobile.myproject - App services = add
Push notifications
- Description =
-
Generate the CSR file: Certificate Signing Request
- On your mac open the Keychain access
- Menu Certificate assistant > Request a certificate from a certificate authority
- Enter your email and full name, store the file on disk
-
Prepare the APN (Apple Push Notification) certificate
- Edit the App ID to create the notification certificates
- In Push notification section / developer
- Upload the CSR file
- Download the generated certificate
aps_development.cer - Add it to your session certificates in Keychain access
- With keychain, open the certificate
Apple Development Push Services - And export your private key into a
p12file
-
Configure firebase
- In the firebase console, open the project setup
- In Cloud messaging section upload the certificate APNs
See all steps here:
Create the Provisioning Profile
To test your app before the final deployment in App Store, you have to sign the app through a physical iOS device (so buy one iPhone or iPad!).
-
Create a development key and Team with the CSR file
-
On the console create a device item with its serial number
- connect the device to your mac through USB link
- use
iTunesto open the device infos to get the serial number
-
Then create a profile to associate the App ID with the device
-
Download the profile into
Xcode- Menu Preferences / Account / Settings to import the profile
- Open the application properties and select the Development Team to sign the App
- Launch the app with your real device
- During compilation enter your certificate password
- Enjoy when the App brings to life on device!
Deploy on the Apple store
The last step is to create the Store listing:
- login to
- Create the App with Plus button
- Set the title, sub-title and description, privacy-policy URL, etc.
- Upload screenshots for iPhone and iPad
- Push the build from
XcodeMenu Product/Archive to build and download the signedipafile - Give a login/password to allow Apple to make internal verifications
- Submit to verify the App, the process can be very long (form 1 to 10 days)
Known limitations with inAppBrowser
- Google
OAuth2doesn't work into the inAppBrowser for security reason (only through native browsers Chrome or Safari) - W3C
navigator.mediaDevicesis not yet supported by inAppBrowser (missing some CAMERA permissions)