User Guides
What is a User Guide?
In Simplicité version 6.3, a User Guide is an interactive tour designed to onboard users and help them understand how to use the application.
A guide can walk the user through various parts of the UI, highlighting steps, actions, and interactions.
User Guides can be:
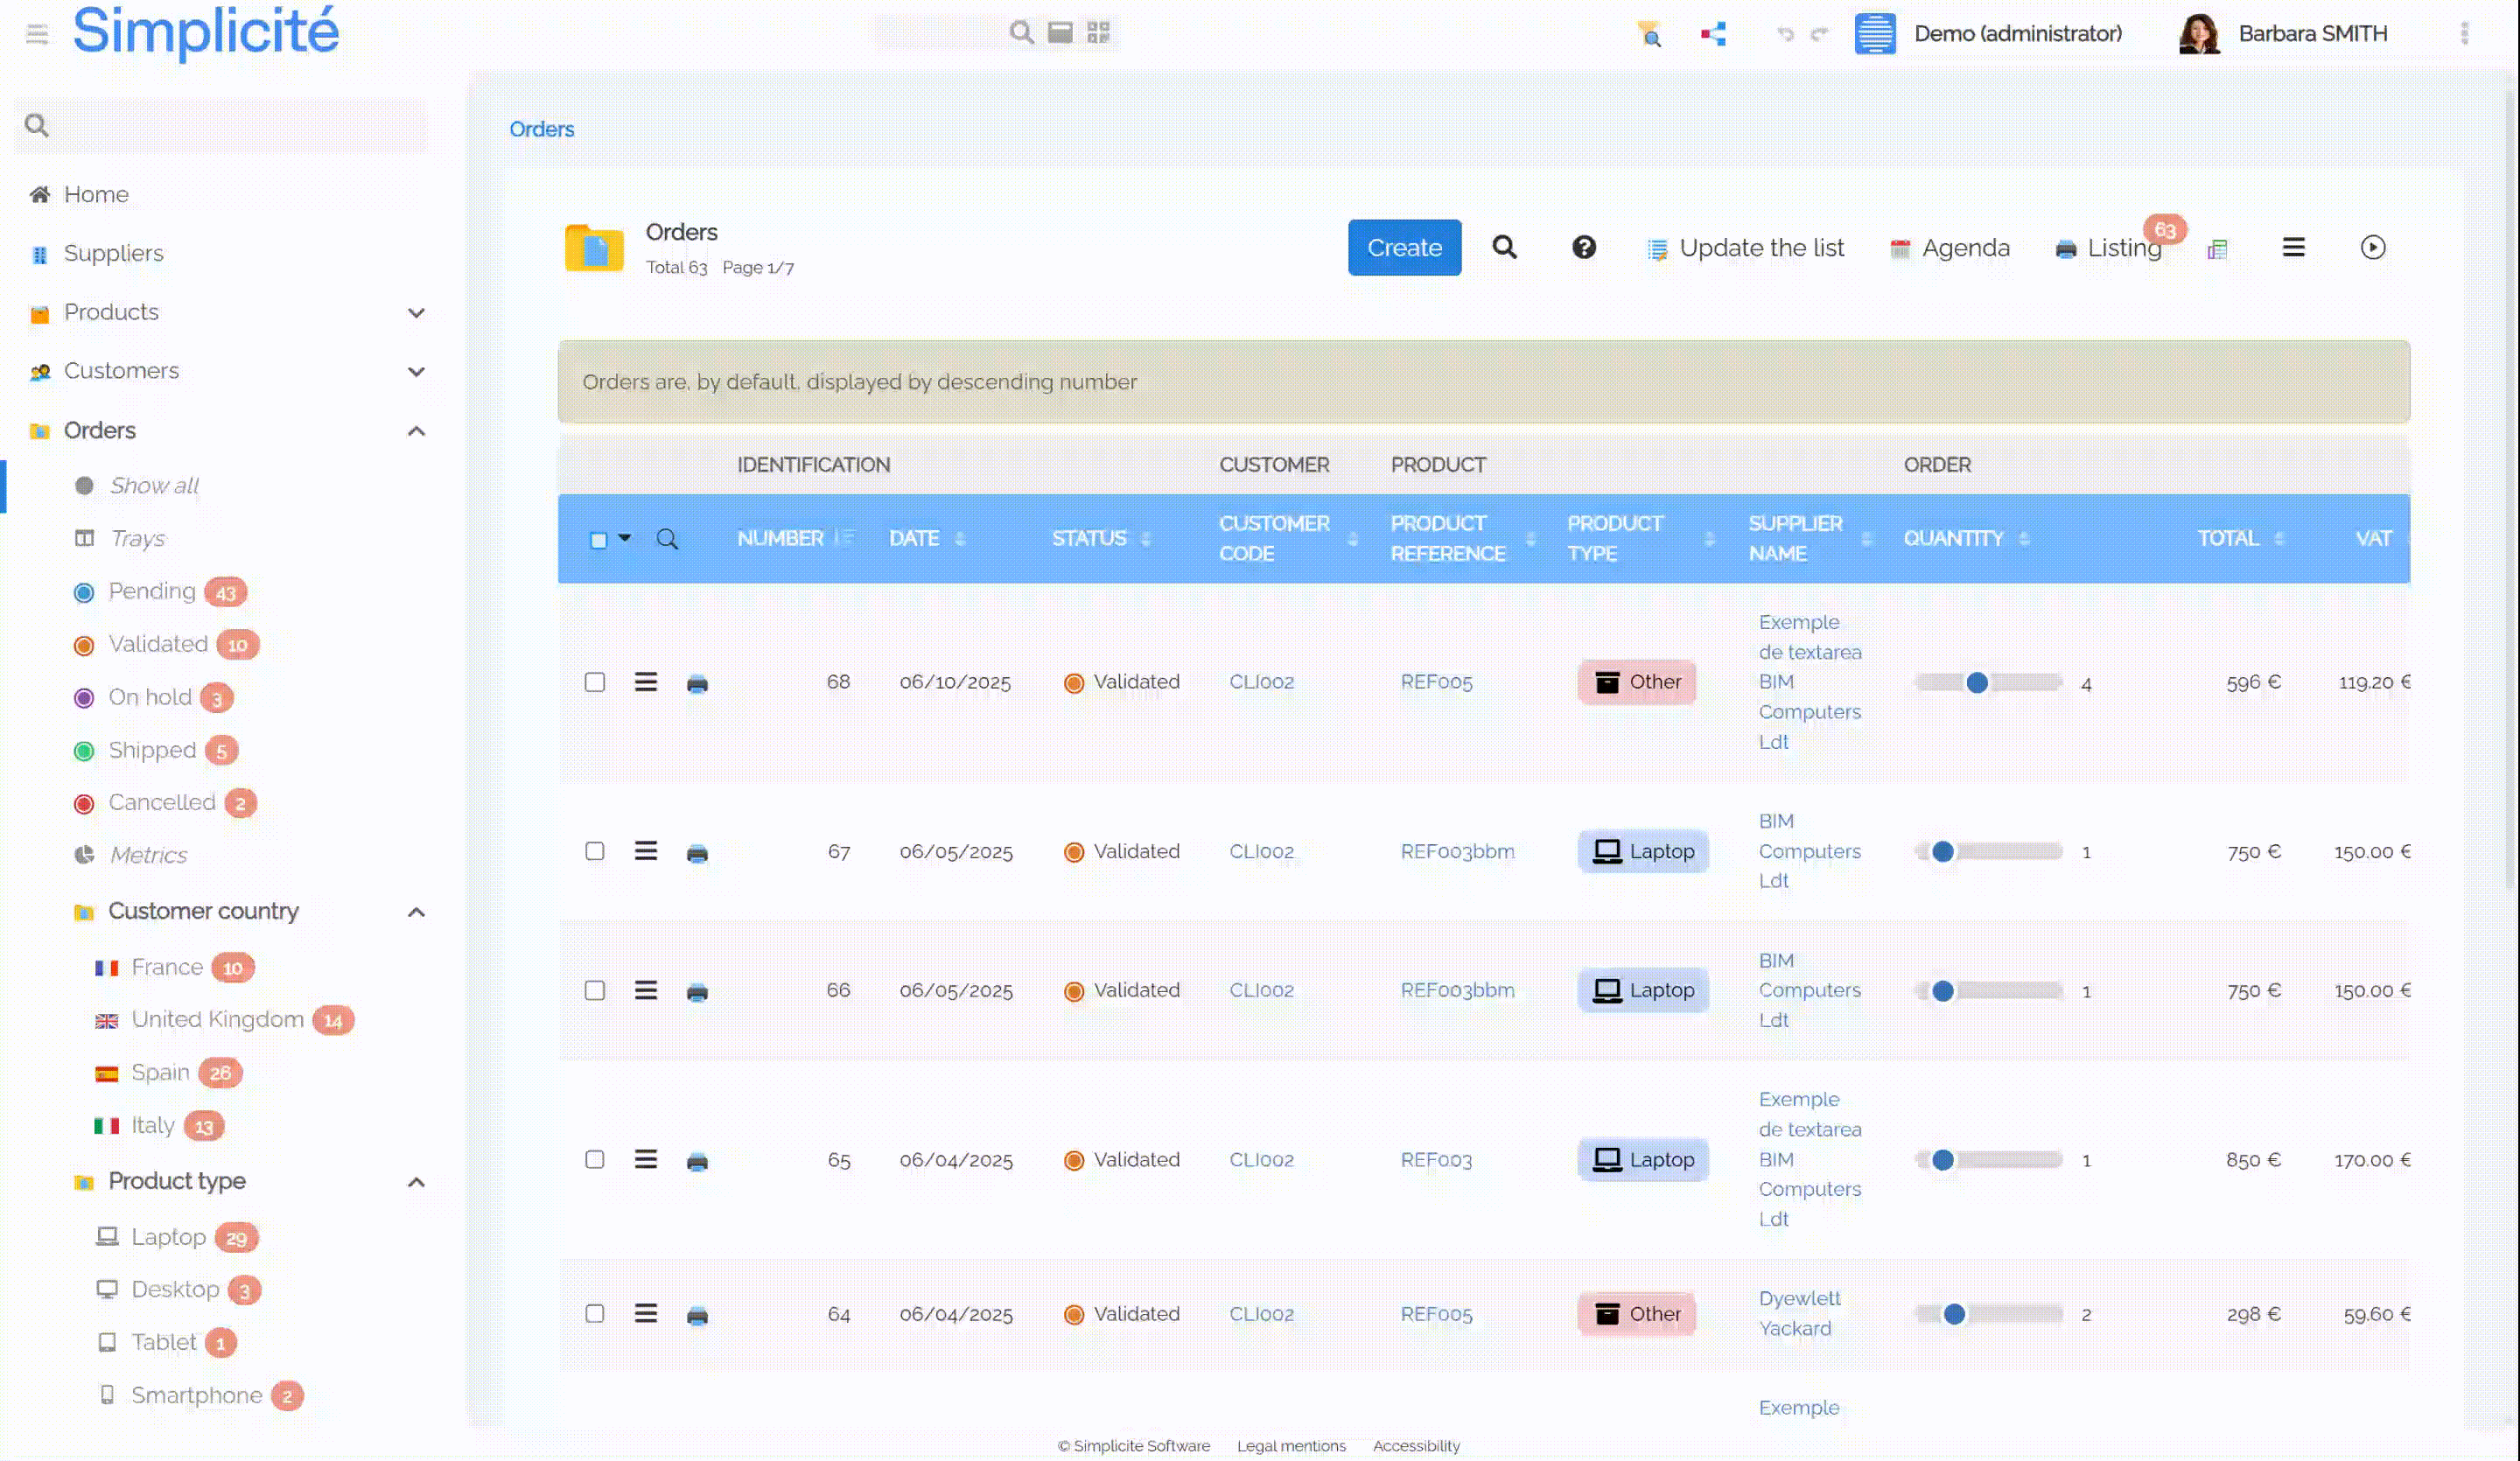
- Launched from any view, home page, business object, dashboard, Domain home or external object.
- Restricted to a limited period of availability.
- Made visible only to specific user groups.
- Composed of multiple steps:
- On a single page.
- Across several asynchronous pages or dialogs.
- With required user interactions (clicking a button, completing a field, etc.).
With User Guides, Simplicité provides a structured, interactive way to onboard users and support application adoption.
How to Create a User Guide?
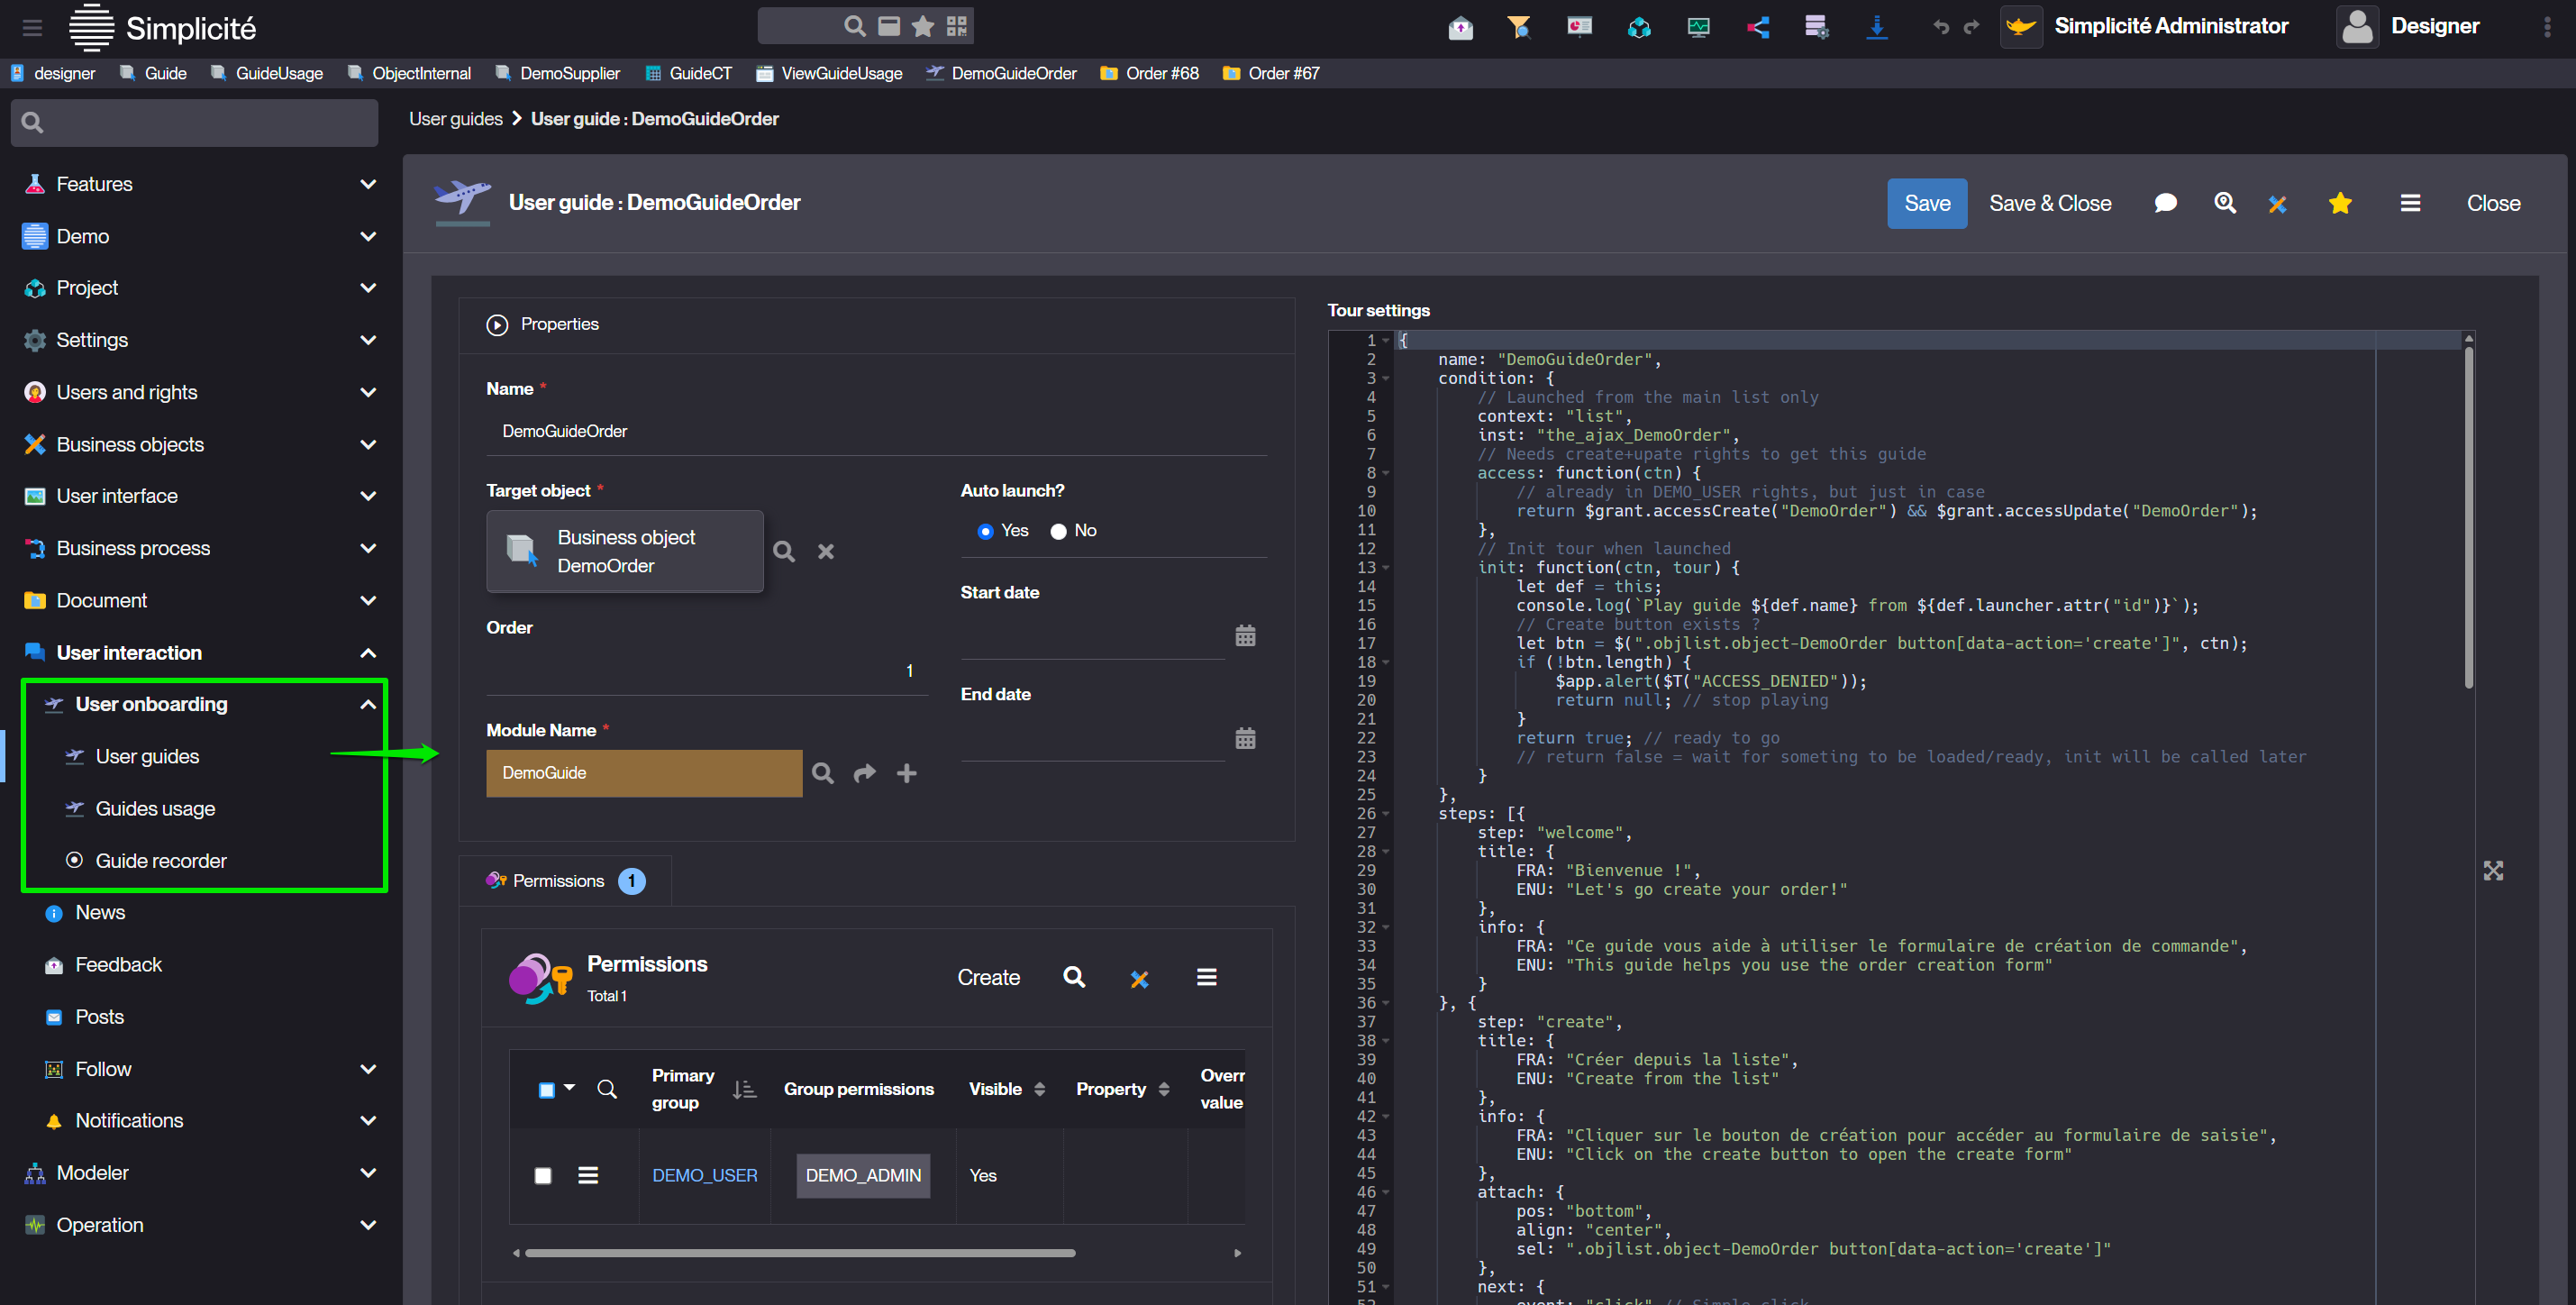
Accessing Guides
Users with the GUIDE_MAKER responsibility gain access to the Guides menu, which includes:
- User guides – full definitions of guides with step settings and permissions.
- Guides usage – tracking information (who used a guide and when).
- Guide recorder – a helper tool to build a guide skeleton directly while navigating the UI.
Creating a Guide
-
Go to User Interaction > User guides.
-
Click Create a new Guide.
-
Define the following properties:
- Name – unique key for the guide.
- Module name – the module to which the guide belongs.
- Target object – Simple view, home page, business object, dashboard, domain home or external object.
- Availability period – optional start/end dates.
- Order - defines the order of display when multiple guides are available.
- Auto launch – automatically launches the guide when the user first accesses the target object.
- Tour settings – advanced options such as display style, navigation controls, or steps.
-
Define steps for the guide:
- Page or dialog context.
- Target element in the UI.
- Step description/instruction.
- Expected user interaction (click, input, validate, etc.).
-
Save the guide and test it in the UI.
Creating a Tour
A Tour is a structured JSON object that defines a guide with steps, conditions, and exit behavior.
Structure of a Tour
{
    name: "GuideName",
    condition: { ... },       // Launch conditions and access rules
    steps: [ { ... }, { ... } ],  // List of guide steps
    exitToast: { ... }        // Optional message at the end of the tour
}
Launch Conditions
The condition defines when and how the tour can be launched:
context- location in which the tour is launched. (view,list,external,create,update)inst- instance name of the target object/view.access- function to check user permissions.init- optional logic to verify the page or elements are ready.
condition: {
    context: "list",            // Launch context: "list", "form", etc.
    inst: "the_ajax_Object",    // Technical instance name of the target object
    access: function(ctn) {     // Optional access control function
        return $grant.accessCreate("ObjectName") && $grant.accessUpdate("ObjectName");
    },
    init: function(ctn, tour) { // Optional initialization logic
        // Example: check if a button exists before starting
        let btn = $(".objlist.object-MyObject button[data-action='create']", ctn);
        if (!btn.length) return null; // stop playing
        return true; // ready to go
    }
}
Defining Steps
Each step guides the user through an action or element:
step- identifier for the step.title- multilingual step title.info- optional description text.attach- tooltip positioning and target element.sel: CSS selectorpos:"bottom" | "top" | "left" | "right"align:"left" | "center" | "right" | "top" | "middle" | "bottom"
next- how to proceed to the next stepevent:"click" | "onload" | "toggle" | "change"condition:(ctn,obj,tour)->true
{
    step: "step-id",
    title: { FRA: "Titre", ENU: "Title" },
    info: { FRA: "Description", ENU: "Description" },
    attach: { pos: "bottom", align: "center", sel: "CSS selector" },
    next: { event: "click", condition: function(ctn, obj, tour){ return true; } }
}
Exit Message
At the end of a tour, you can display an optional message:
{
    exitToast: { FRA: "Merci et à bientôt !", ENU: "Thank you and see you soon!" }
}
Using the Guide Recorder
The Guide Recorder (experimental feature) helps create a guide quickly:
- Run through the desired journey in the UI.
- Right-click on elements you want to include as guide steps.
- Simplicité generates a guide skeleton with generic DOM selectors.
- Refine the guide:
- Adjust selectors for stability.
- Add missing steps.
- Define permissions.
The recorder provides a starting point; the guide designer must complete the setup for a functional onboarding tour.
How Users Access Guides
GUIDE_USER Responsibility
End-users need the GUIDE_USER responsibility to access guides.
Guides can be:
- Automatically launched (once per user).
- Replayed at any time with a button in the UI.